
Wood Burned Portrait - Lucky
Here's a quick post to show a few progressive shots of this wood burned portrait.
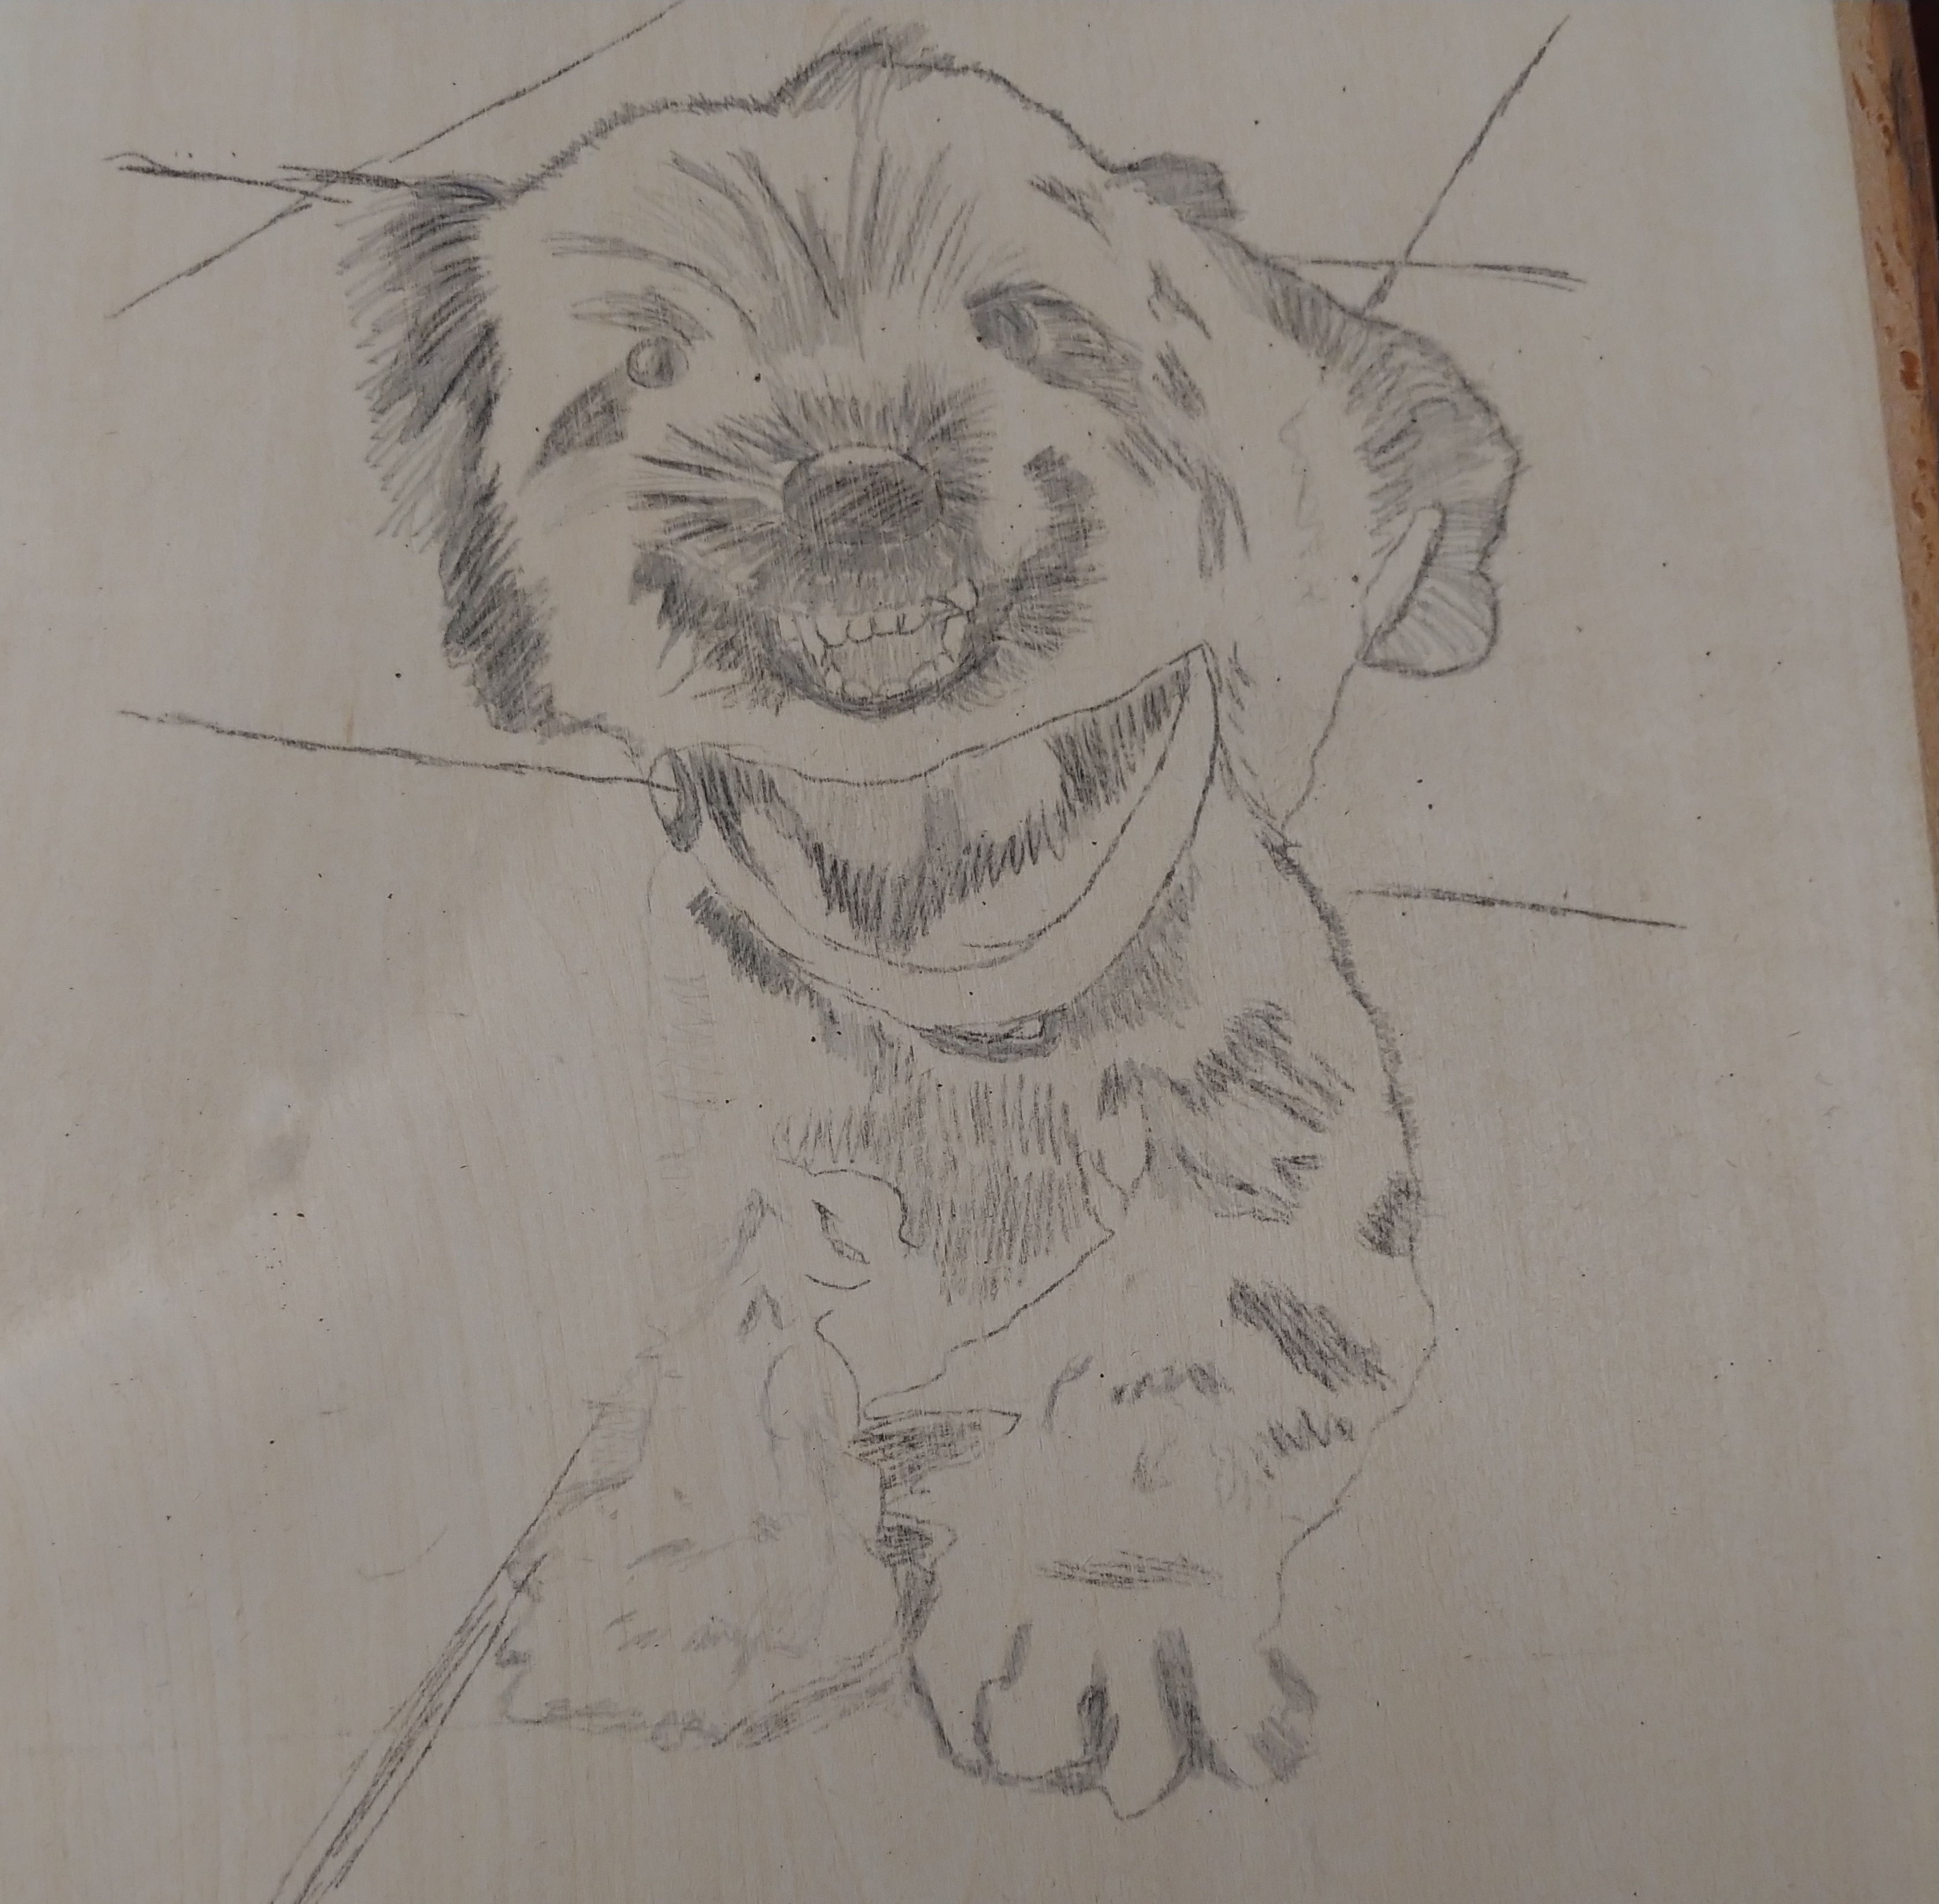
1. Graphite trace the reference photo onto wood. Only major lines. It's hard to remove graphite once it's on the wood.

2. Add in the shading I want with a pencil. It can be erased later if I decide it doesn't work.
3. Start tracing the fine lines with a fine tip.

4. Then add detail lines.
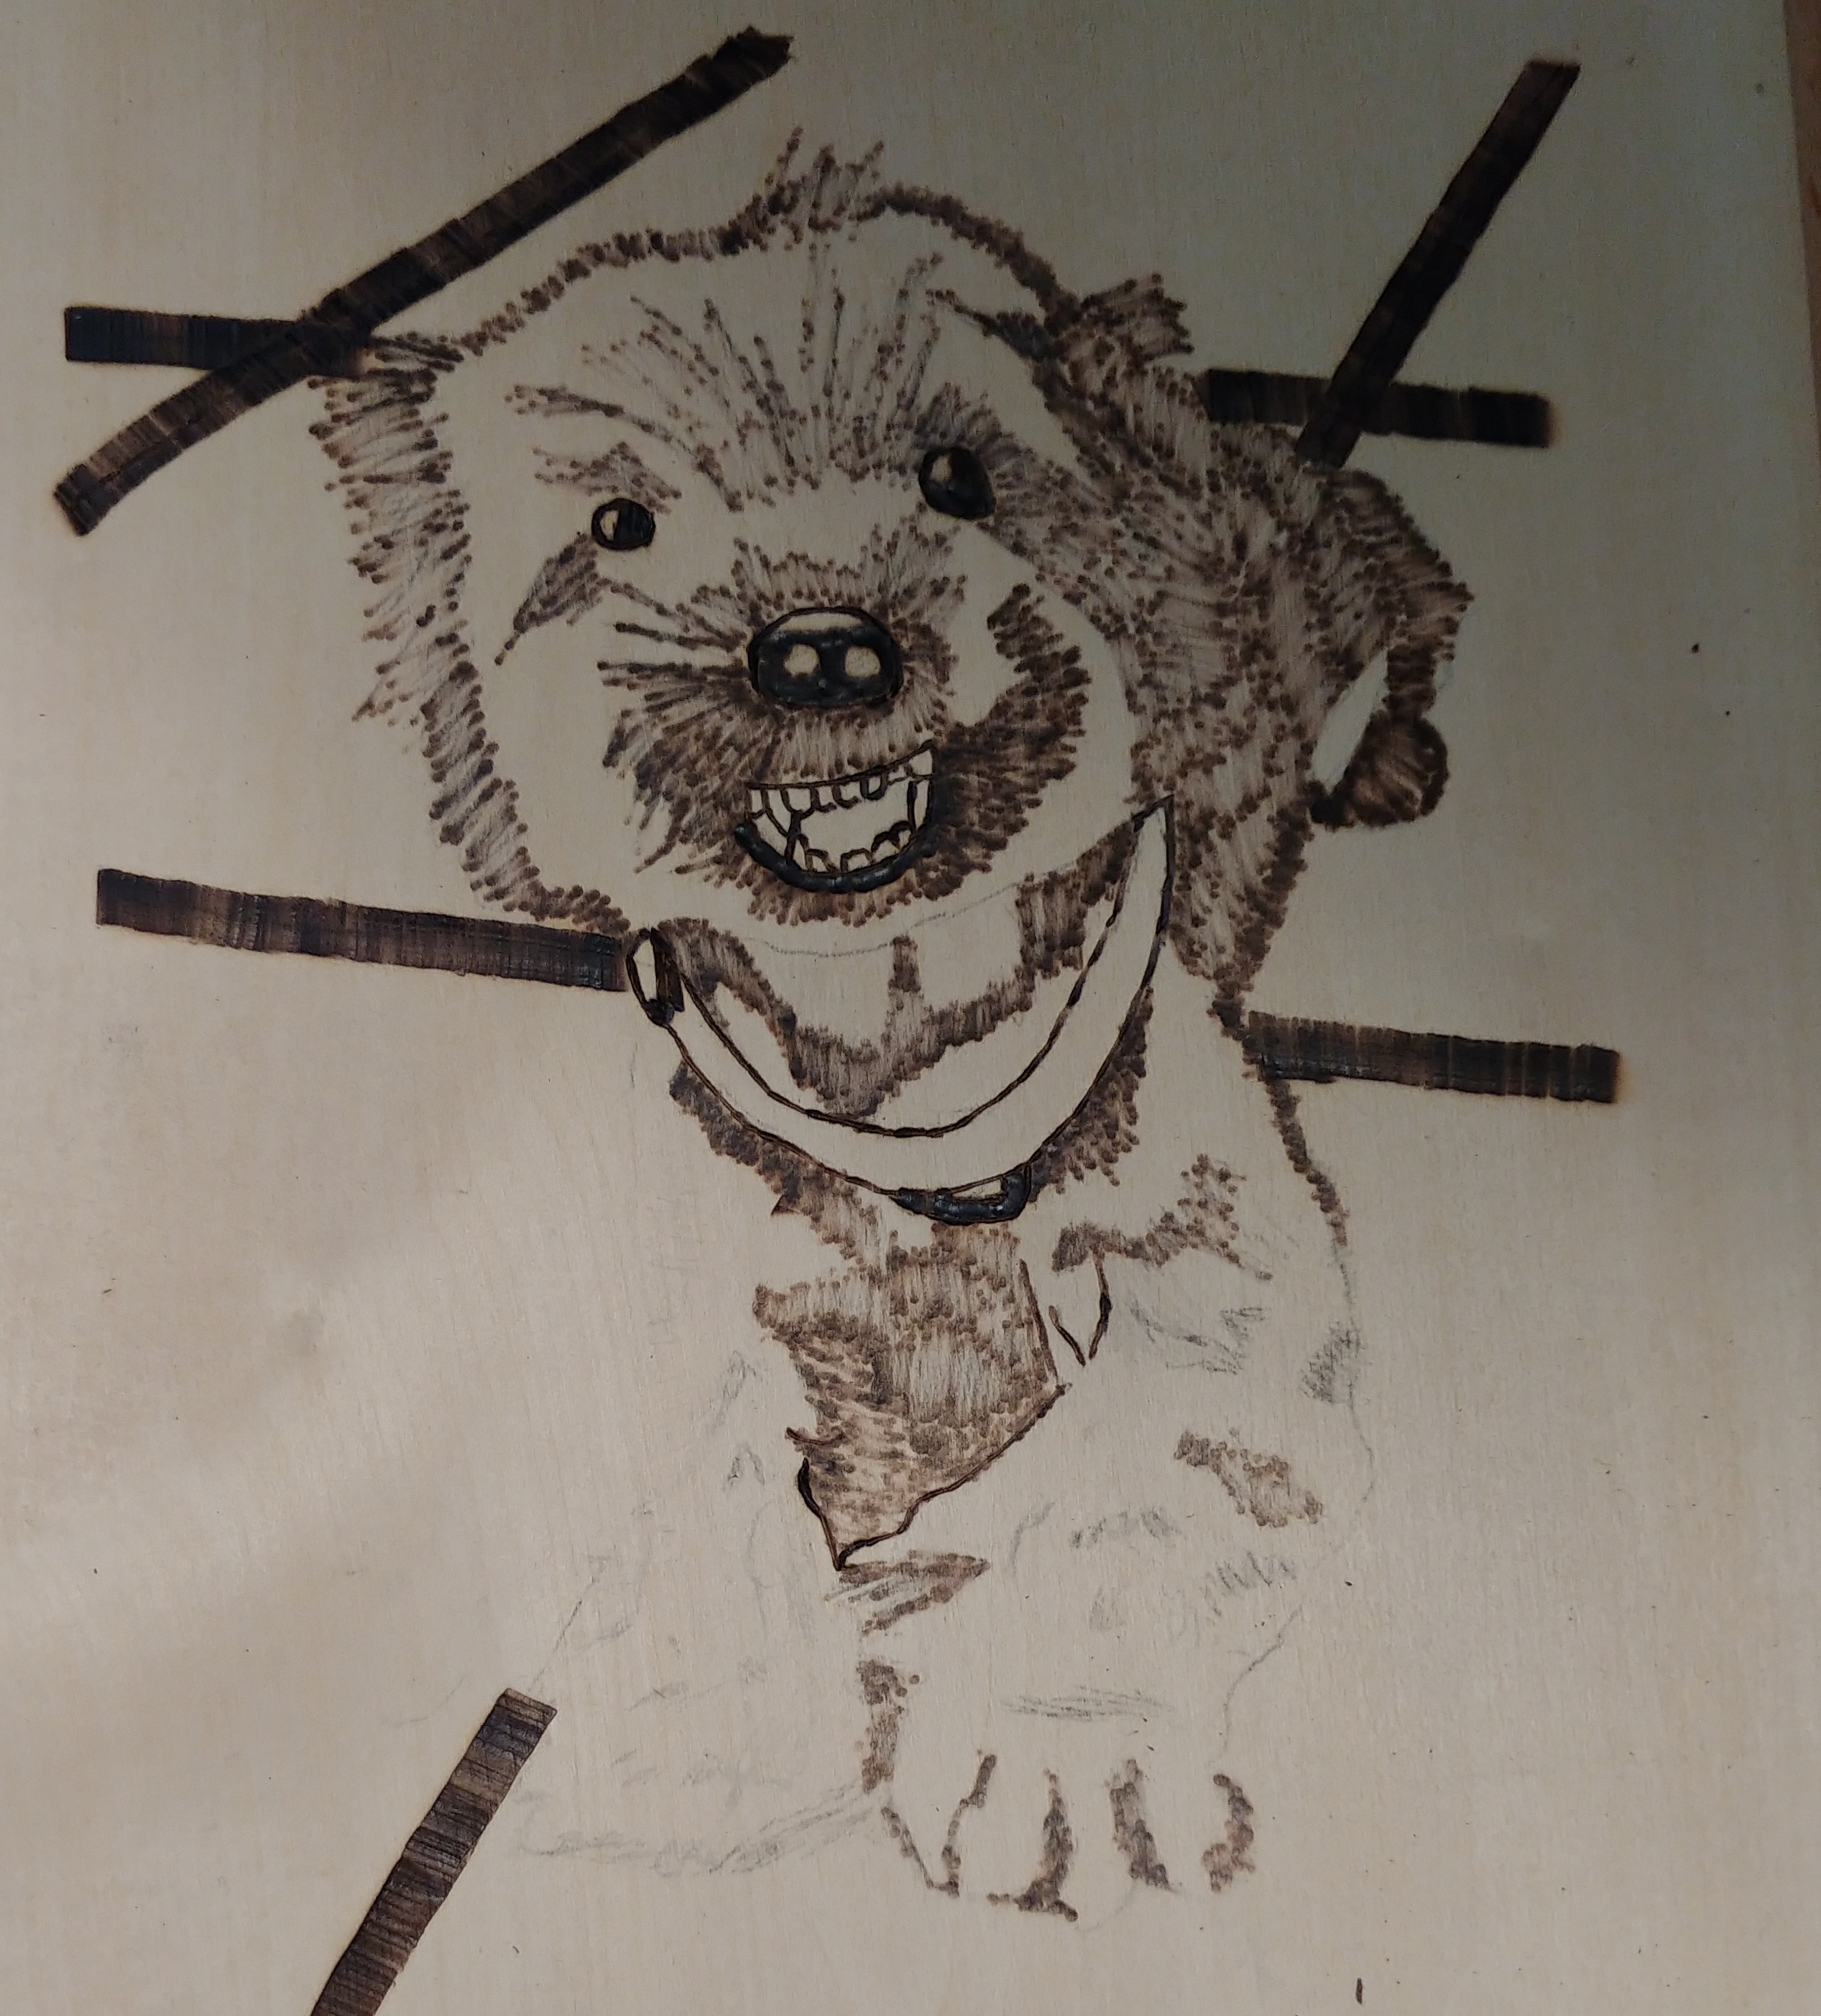
5. Add finishing touches - shading mostly, and darkening some areas that weren't dark enough.
Note the lighting is slightly different between photos 3, 4, and 5. I took the final shot under better lighting, so the overall shade of the lines look lighter. 3 and 4 were taken under partial shade, hence the darker look.
If I were to re-do this, I'd probably omit the collar. Didn't find a shade that I felt worked well for this portrait. Also didn't feel it was necessary to have as part of the portrait.
I took less creative liberties with the first few portraits I did, haha. But now I'm starting to find ways to improve on the portraits by taking a bit more artistic license.
This portrait also took the least amount of time to date! Getting the process down! 😃
I have a few more in queue. Hopefully Michaels has some more sales soon...wood isn't cheap...